Esprit suspension & brakes
To save space on the website, I've compiled the photos I took of the front suspension stripdown, into a MS Publisher file. You can download it here:
Apologies for the poor quality of the photos; I used a cheap digital camera that was struggling with some of the close-ups. I took the pics to remind me how it all went together, as I knew it would be some time before I'd get all the sandblasting, painting and re-bushing completed!
The brakes on the Esprit are a simple, typical dual-split system with servo assistance. The split is front-rear. Master cylinder and servo are in the front luggage boot, where separate piping for the front and rear brake circuits leave the master cylinder and are routed down through the boot floor. The copper brake lines are retained against the chassis by stainless steel clips with self-tapping screws. The front brake circuit splits to left and right, while the feed for the rear brakes passes through the chassis cross-member and is routed along the side of the chassis spine, using steel tabs to keep the line in place. Once at the rear end of the chassis the line is split to left and right calipers. All four calipers are linked to the copper lines by flexible hoses. I found that several of the copper lines on my car were well corroded and decided to replace the whole lot, using the better copper/ nickel/ iron (CuNiFe, often branded Kunifer) piping. At the same time I opted for new stainless-braided flexible hoses; all of the threaded connectors were replaced as well. This is actually not expensive; the brake tubing comes in 25 foot rolls at less than £10 a roll (you may need two rolls, I had a spare length already), the end fittings are literally pennies each (though a dozen soon adds up!) and the most expensive items are the flexi's at about £10 each. Of course you then need some kind of tool to flare the brake pipe ends, and this will probably cost upwards of £20, but since you are doing the job yourself, think of the saving in labour charges! I also bought a simple tool from Automec that clamps two shaped nylon blocks around the pipe and lets you put sharp bends in without kinking, but if you're careful you can get by without it.
The front calipers are fairly common Girling units, nothing fancy. Pads are easy to change. The rear calipers may appear a little odd to some people, though SAAB, Audi and others have used similar designs for years. What surprises a lot of people is the inboard location of the calipers; I've heard of people moaning that they're hard to work on but I actually find them easier. You can get at them from above and below, you don't need to take the wheels off, what's the problem?! Pads again are easy to change, the likes of SJ Sportscars do an overhaul kit for them and the only likely problem area is the caliper handbrake/ self-adjusting mechanism, but even that is fairly easy to strip and clean, providing that major corrosion hasn't set in.
So, some blurry pictures:
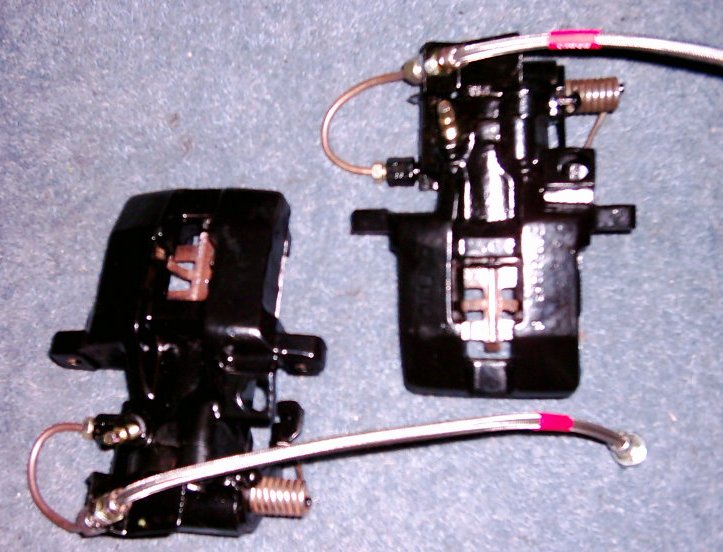
Above picture shows the rear calipers after I'd overhauled them. You can see the new short link pipes in CuNiFe and the stainless braided hoses. I reused the anti-rattle shims, that's the rusty bits of tin you can see ;)
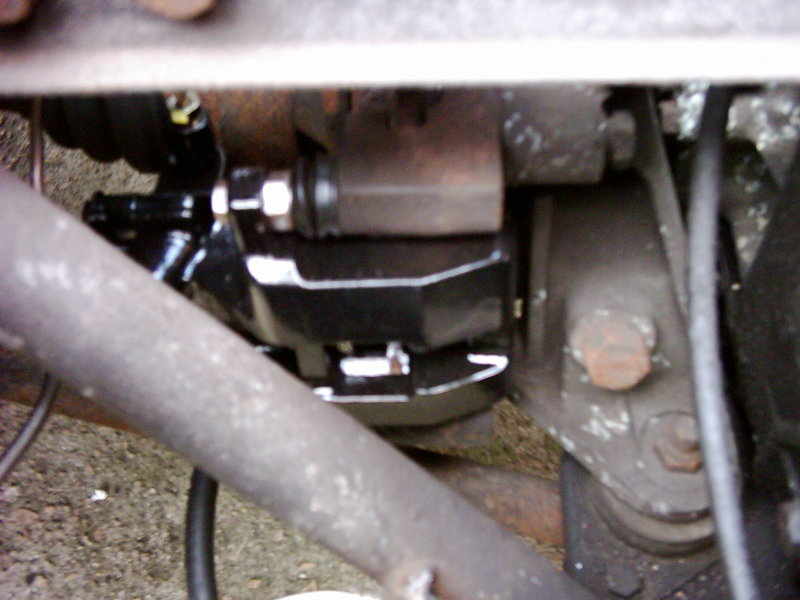
The left-hand caliper as viewed from above (engine bay panels removed). Actually quite easy to get at, even from below....
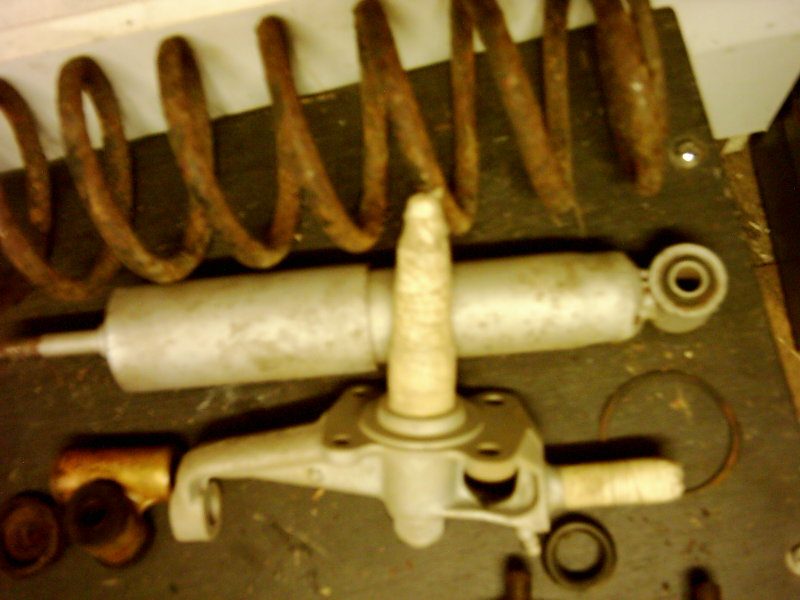
This is the right-hand side disc, you can see where the caliper mounts. The 'umbrella'-shaped rod is one of the gear linkages:
![]()
Notice how close a fit the caliper carrier is around the disc? Yes, so did I. When I was stripping the car to get the transmission out, I'd unbolted the driveshafts and found that the discs wouldn't come off as the caliper carriers were in the way. The carriers are bolted to the large alloy castings that also support the transmission, and the bolt heads are between the casting and the side of the gearbox. I could get a spanner in, but could I hell turn it!
In the end I had to leave the discs on until I'd got the transmission out, remove the mountings and then unbolt the carriers... and by god did those bolts take some shifting! They'd corroded into the alloy mountings. So if you have yours apart, make sure you free everything up and reassemble with copper grease, then when you need to change the discs it'll only take an hour and not a day...
The following photos show a selection of suspension components in rusty, sandblasted and repainted states - and you have no idea how tedious it is to sandblast a coil spring clean!

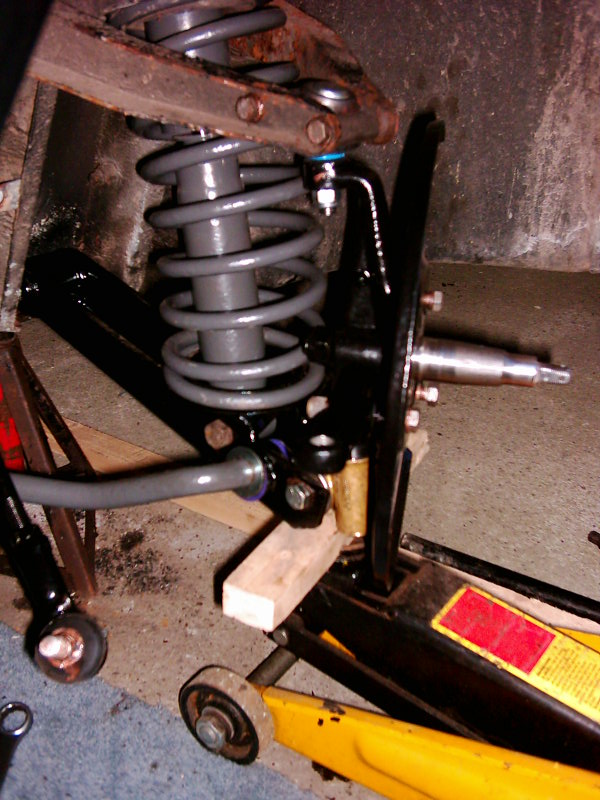
In the photo below, showing the suspension being rebuilt, note that the upper wishbone legs are still rusty. This is because I was keen to get the car back together, and I suspected I'd have to destroy the upper wishbone pivots to get them out. In the event, a couple of weeks later I found a brand new pair of pivots on Ebay for next to nothing, so when I get bored, the front suspension will have to come apart again...! You can make out the purple polyurethane anti-roll bar end bushes, new trunnion and upper balljoint. I re-used the track rod ends but managed to blag some new rubber boots for them as the old ones were perished.
Back to Esprit menu Back to Wedges